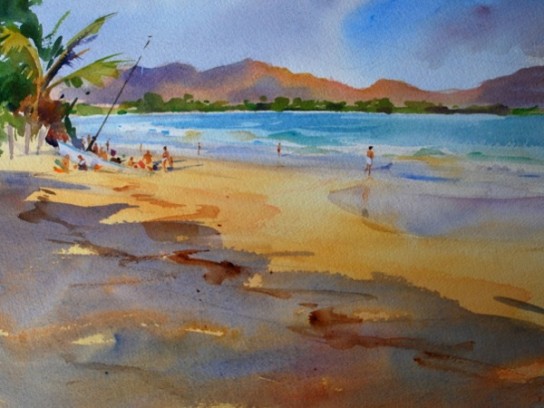
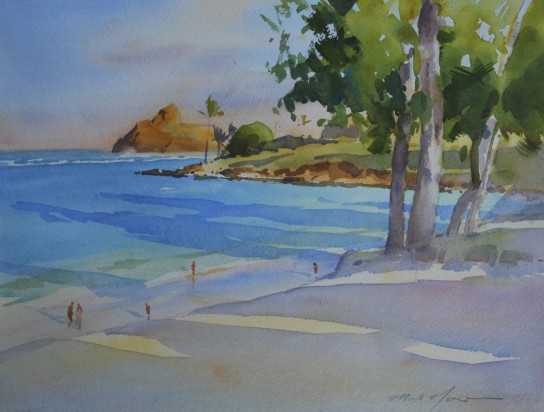
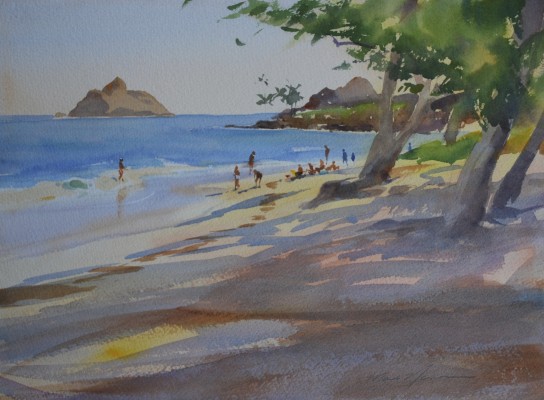
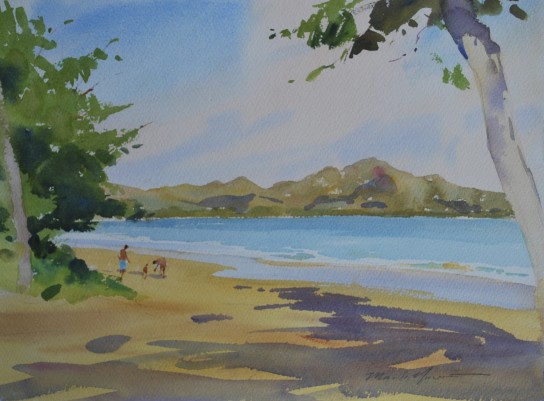
I’ve just finished this new oil painting after many interruptions, mostly weather-related. But I managed to shoot some sequential images along the way, and I hope you find the process and progress interesting.
Setting Up
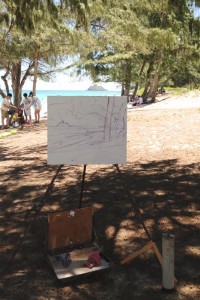
My setup for starting. I’m careful that the top of the canvas is perfectly level with the horizon, which you can see win the photo. I have a large pair of “Square Corners”, wooden right-angles, leaning against the right leg of the easel. When used as a viewfinder, these help tremendously with visualizing the composition. They are a must-have for composing from nature like this.
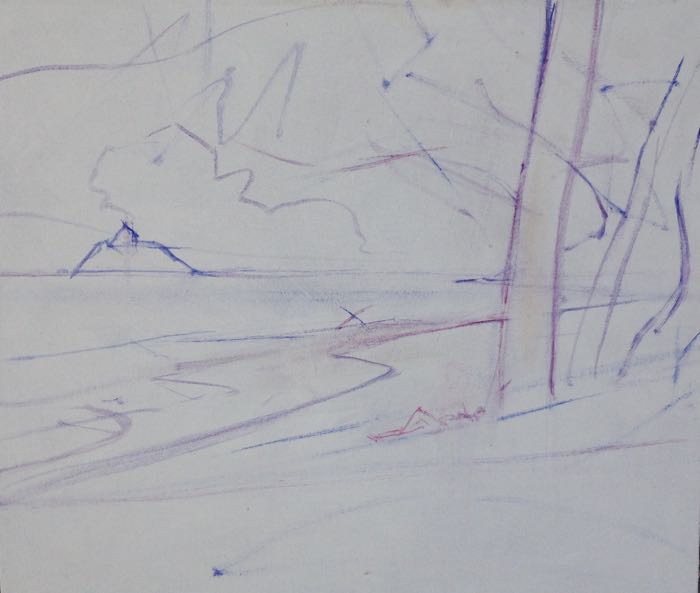
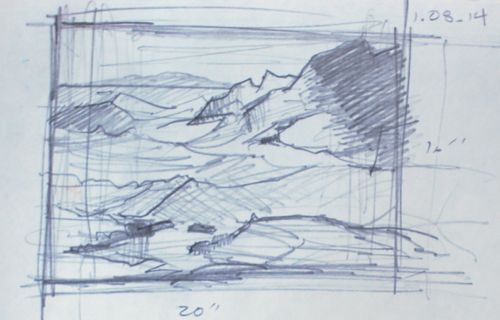
The drawing of the main lines, big shapes, and divisions of space on the canvas.
I start by placing a small x in the center of the canvas to build the composition around. Adjustments included enlarging the main tree in size from what nature provided, and moving the small island on the horizon to the far left of the canvas as a balancing measure. I’ve moved the horizon line up because it was too close to dead center.
All of this is important work and anticipates the end result I have in mind. Chances are good that anything I really dislike in the final painting is already taking root in a choice I’ve made at this stage. This part of the process can be done in one session, and an overcast day is fine for this step. I prefer to have some time back in the studio with the drawn-in painting to view the composition, preferably after leaving the location. That way I can be more objective about where I’m heading with the painting.
The composition is drawn in with a thinned mix of Ultramarine blue and Indian red and painted in with a hog-bristle round brush. I use a rag and a bit of Gamsol to wipe away any lines that need removing or adjusting.
Proceeding into Light, Shade and Color
Once light and color are introduced, the painting sessions require similar light. And as the painting progresses day to day, the window of painting time narrows to accommodate the specific effect I’m painting.
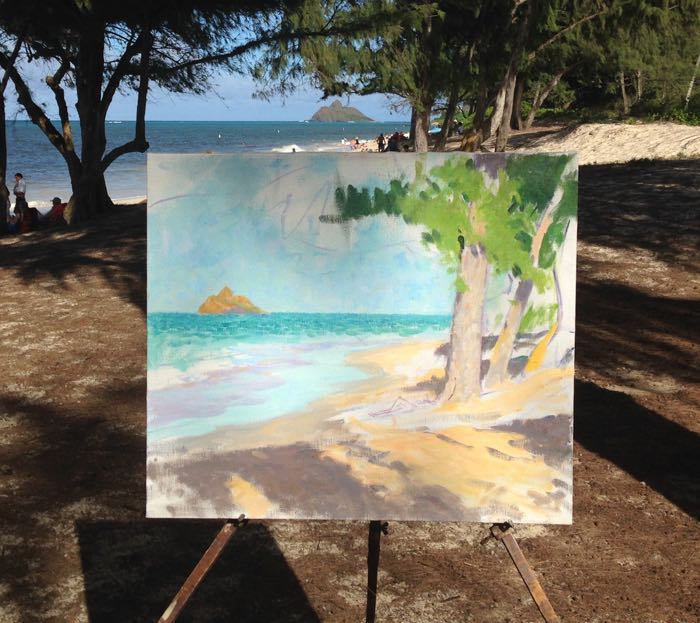
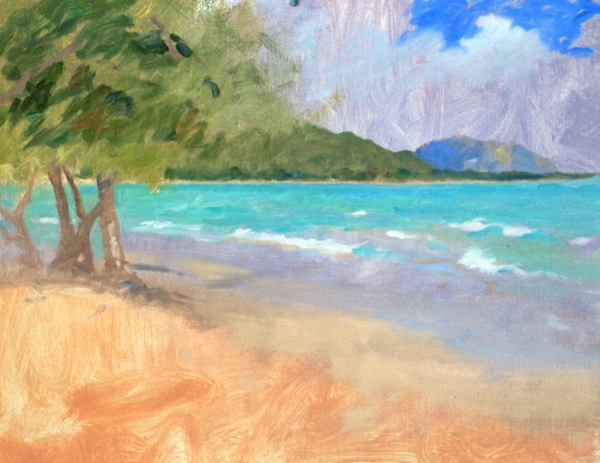
A photo taken after one or two sessions of light/color work. You can see that I’m careful to have the canvas perfectly level with the horizon. I’ve established the lightest note of light ( white of the wave) and the darkest dark (foliage in shadow) and every other value-note should fall between those two spots. This photo is taken AFTER the actual work was finished for the day… one must work when the easel is in shade, because working with direct sunlight on the canvas throws the values off, making the darkest notes appear too light.

A long shot at the end of a session, close to the last one. The painting is pretty close to being finished. This is after the light effect has gone, which is a delightful time to be with the painting and in the place after an hours’ s hard work. Notice I’m practically alone on the beach!
Framing
While the painting is in progress, the other side of the effort is that I build and finish each frame for my paintings. This work takes place on days when I have time to chip away at the framing task, often in the middle of overcast days, since most of my painting is either early or later in the daylight hours.
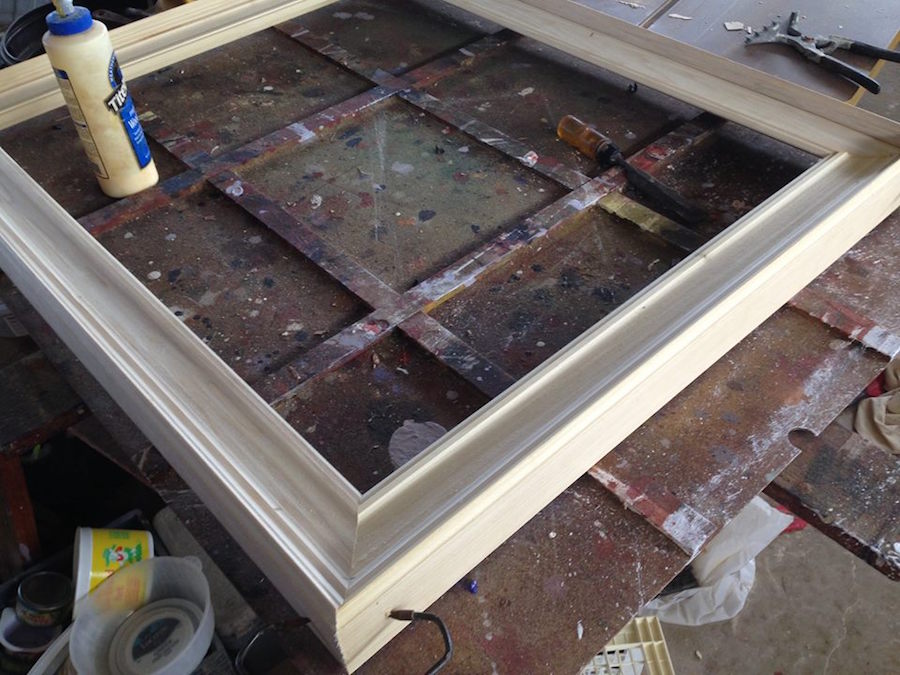
I enjoy building the frames and take pride in being able to make something that intentionally complements each picture.
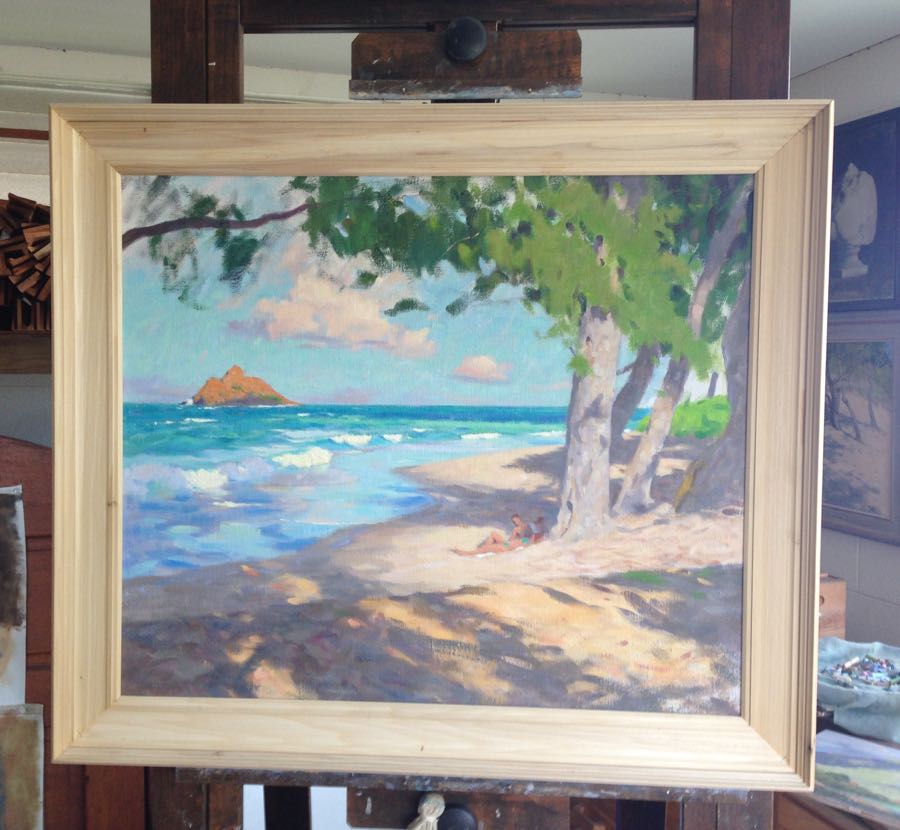
Here, I’m fitting the frame around the finished painting. I begin making color decisions for toning and finishing the wood with the painting in place. The frame will be sanded and shellacked for smoothness.
I first decide whether I want the frame’s effect to be darker than the dark notes of the painting, lighter, or somewhere in the middle. Dark makes the picture stand out (or”pop”, a word I don’t like!), but also can make the picture feel heavy in the room. This is especially true in Hawai’i , where light colors and an airy feel are part of a desirable interior. I choose to go with a middle tone, picking up on the colors in the shadows.
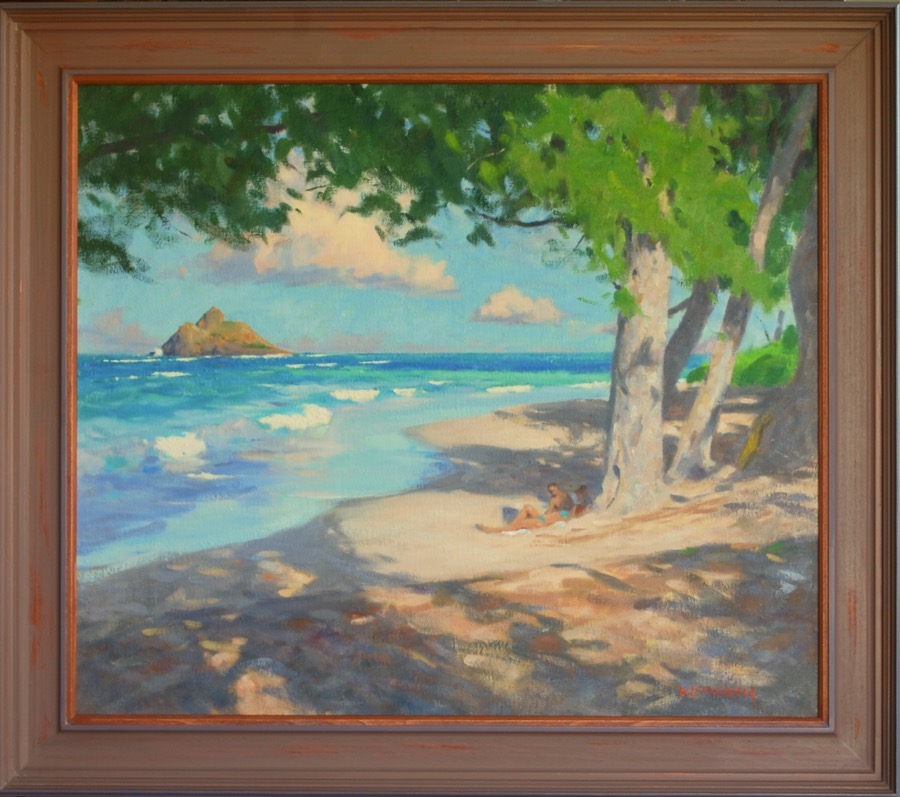
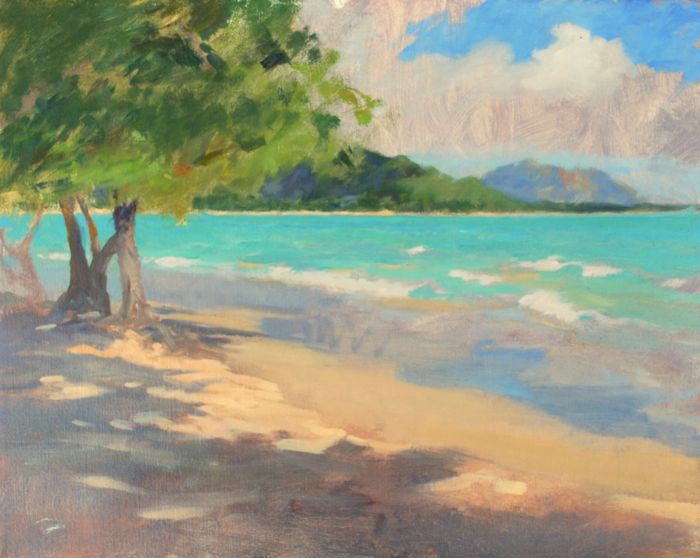
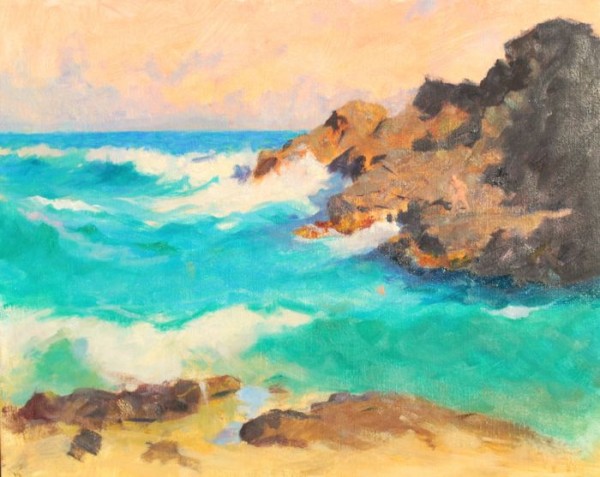
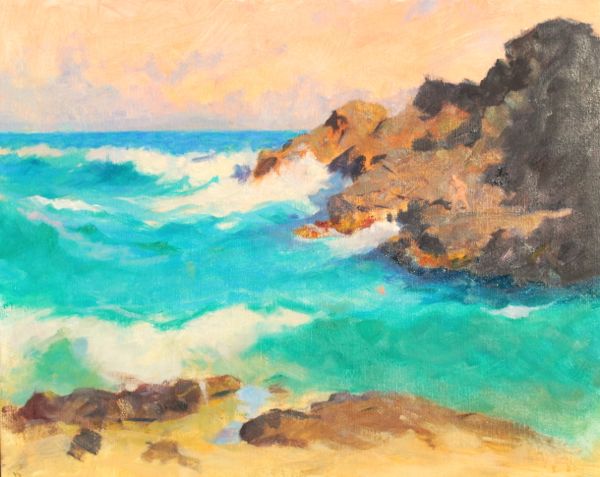
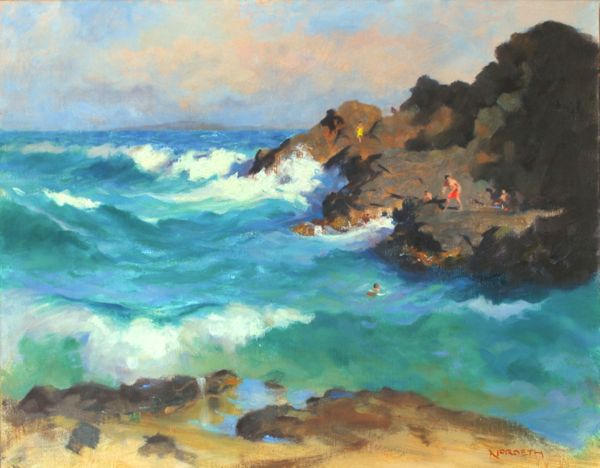
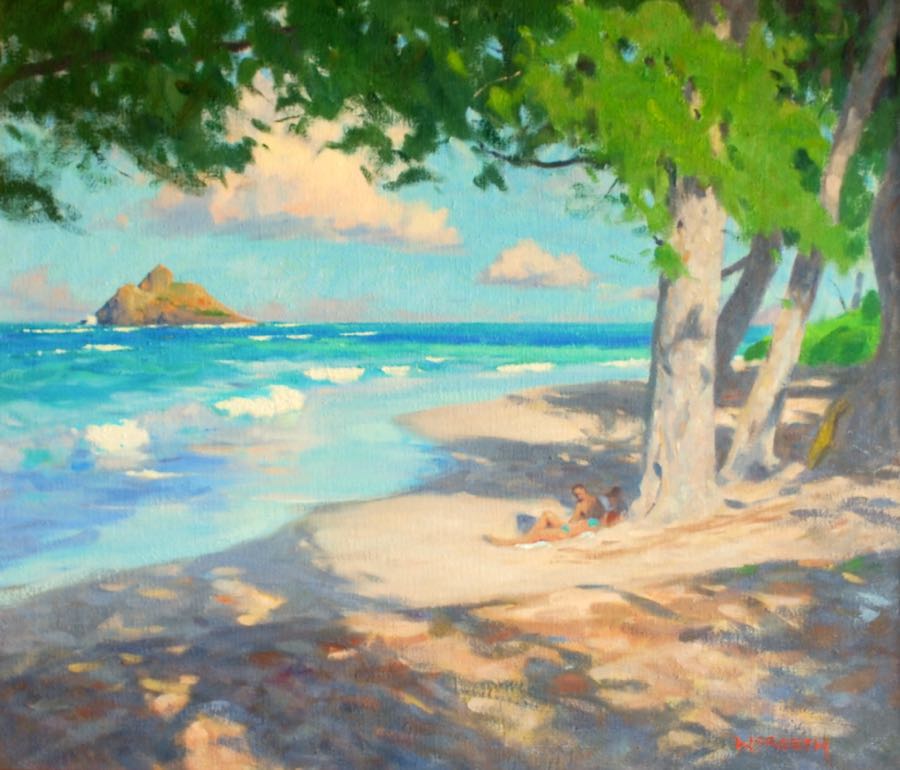
And here’s the final painting. October Sun, 26 x 28″, oil on hand primed linen. And currently available for sale.


